In our previous blog, What is InDesign, we gave you a general introduction of Adobe InDesign, it’s history, versions, How to use InDesign, What is InDesign used for and much more.
Now, in this blog, we will learn ‘How to Create a Document in InDesign.’
I’m Lalit Adhikari and we are at LTY. Let’s get started.
Table of Contents
Interface of InDesign
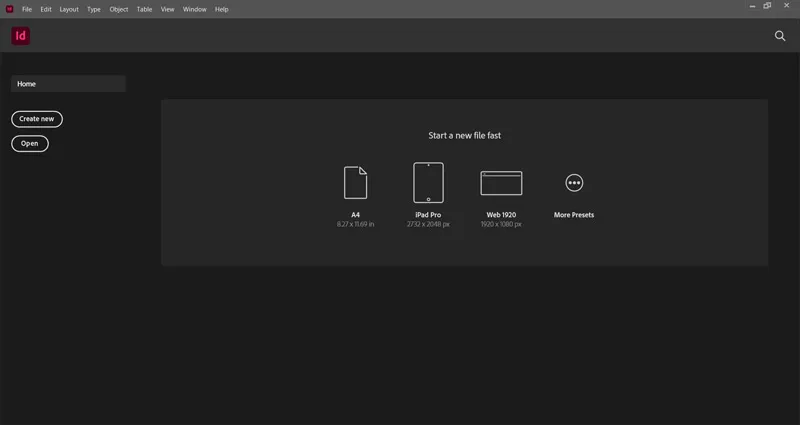
Before we begin to create a document, first we need to get ourselves familiar with the interface of Adobe InDesign.
If you are opening the Adobe InDesign for the first time, it may look similar to the interface below (updates in interface are to be expected with time but you can get a general idea).
Three ways to Create a Document in InDesign
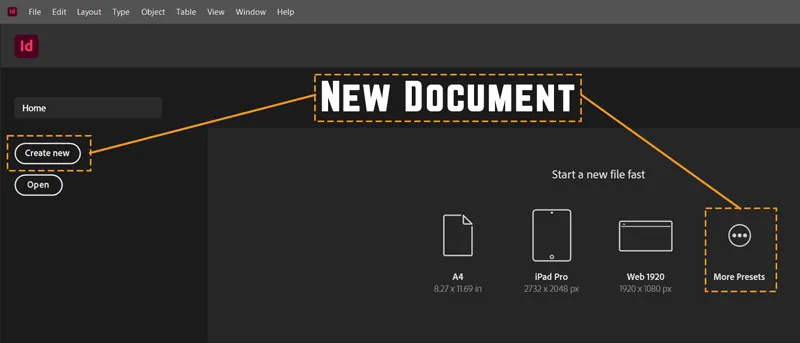
- We can use File > New > Document…
It has a shortcut Ctrl + N - We can use Create New button in Home Screen (refer image below)
- We can use More Presets option in Home Screen (refer image below)
Related Topics:
- What is InDesign
- List of websites for Royalty Free images
- List of websites for Royalty Free Raw images
Create a Document in InDesign
You can create a new document in InDesign by following the following steps:
- Open InDesign
If you are using InDesign CC, you will have Home Screen opened up. This screen may change from time to time. - Choose File > New > Document… or use shortcut Ctrl + N
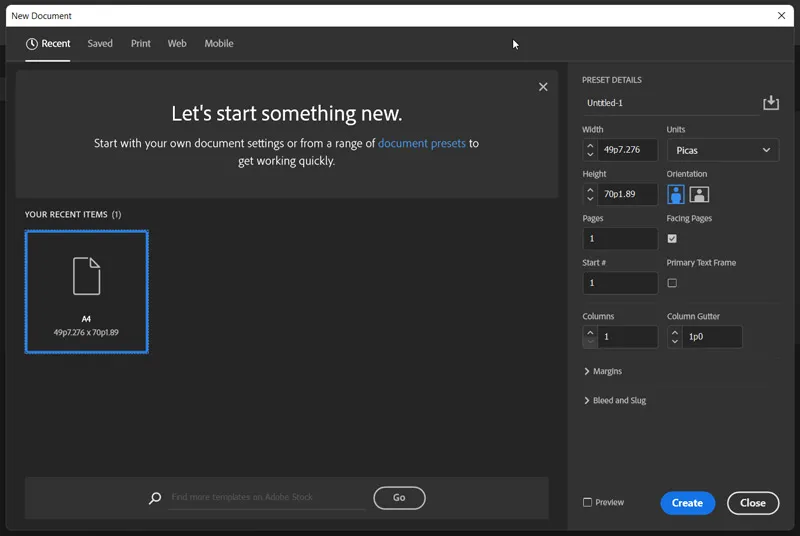
- Modify the setting before creating the New Document in the Preset Details from right pane.
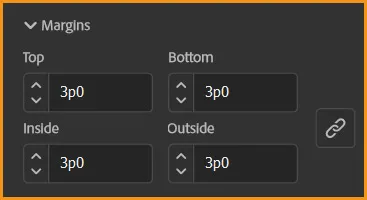
- To specify Margins in the document, open Margins options
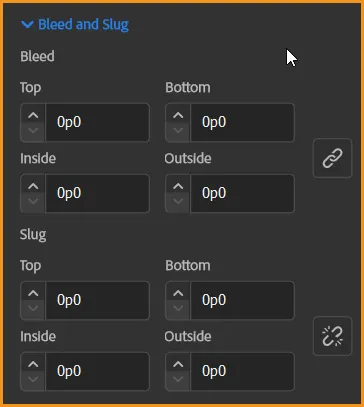
- To specify Bleed and Slugs, open their options
- Click ‘Create’ button after modifying all the options to create New Document.
Presets Document Categories

InDesign has some Presets available for New Documents. They are:
- Recent
- Saved
- Web
- Mobile
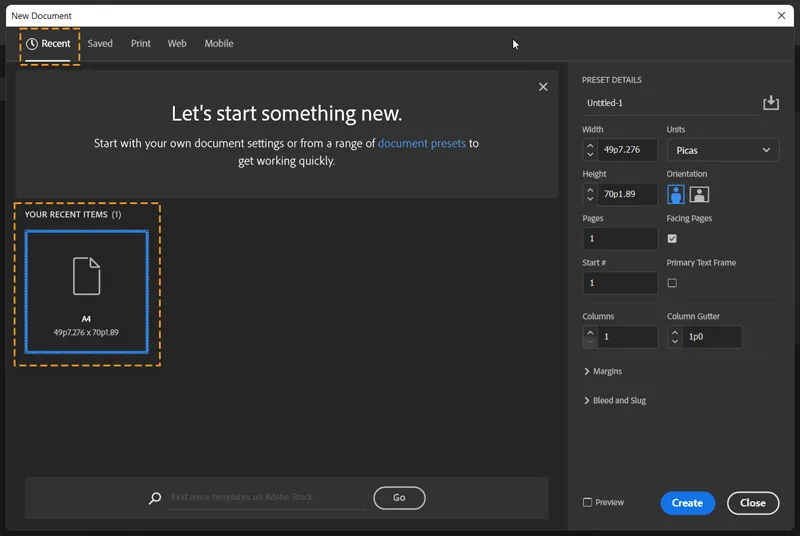
Recent
Recent tab shows us the recent sizes used to create new documents in InDesign.
Saved
Saved tab shows us the saved templates in the InDesign, if you have saved any Preset Details.
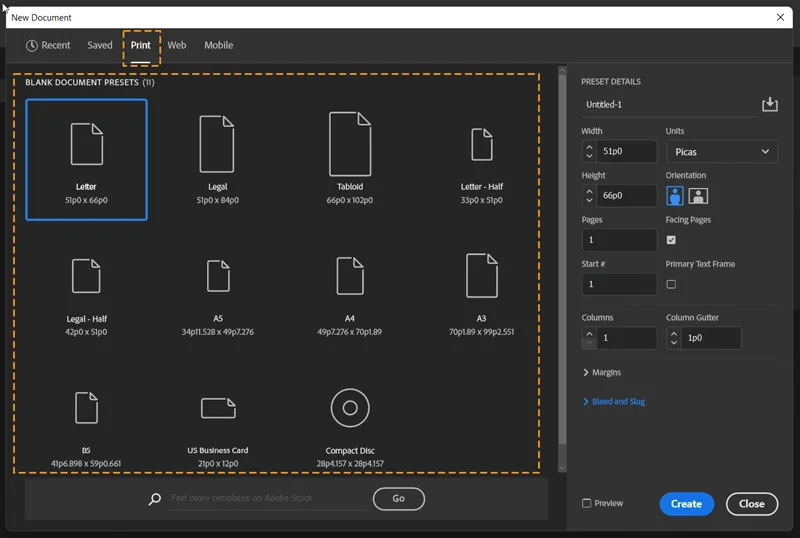
Print tab shows us the popular Print sizes available as Preset in InDesign. These Presets may change as per updates in InDesign version.
Web
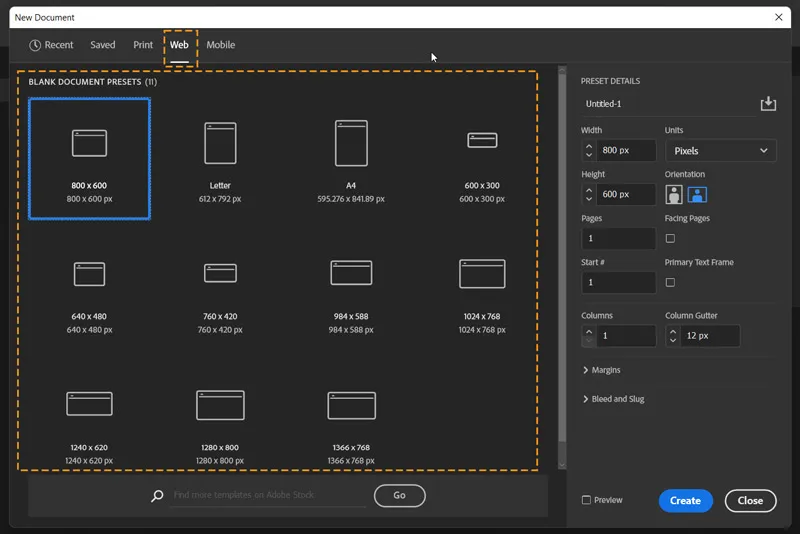
Web tab shows us the popular Web sizes available as Preset in InDesign. These Presets may change as per updates in InDesign version.
Mobile
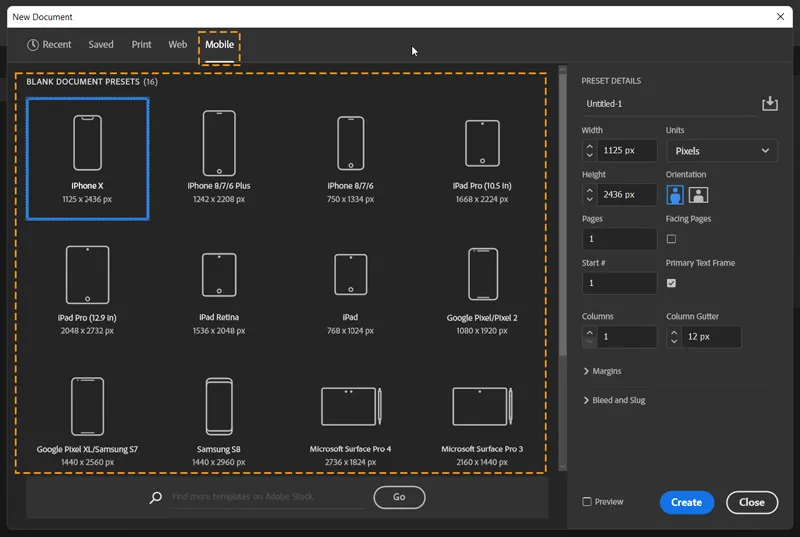
Mobile tab shows us the popular Mobile sizes available as Preset in InDesign. These Presets may change as per updates in InDesign version.
Preset Details
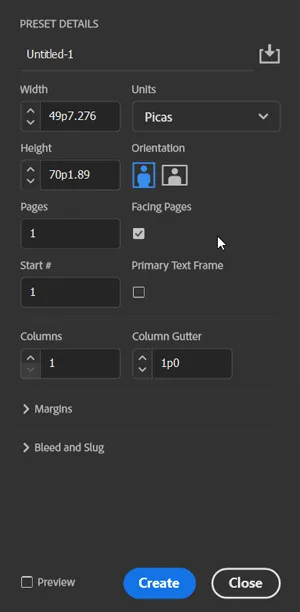
Preset Details includes various options such as ‘Name & Save Document Preset‘, ‘Width & Height‘, ‘Units‘, ‘Orientation‘, ‘Pages‘, ‘Facing Pages‘, ‘Start #‘, ‘Primary Text Frame‘, ‘Columns‘, ‘Column Gutter‘, ‘Margins‘ and ‘Bleed and Slug‘.
‘Name’ and ‘Save Document’ Preset

In the image above, ‘Untitled-1’ is the Name for the document to be created. It can be changed as per your choice. The icon next to Name is Save Document Preset. If we click on it, it will allow us to save the Preset Details as a Preset Document Template under Save tab in Preset Document Categories.
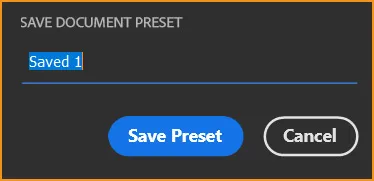
You can Name your Document Preset as per your choice and it will be saved with it.
‘Width’ and ‘Height’
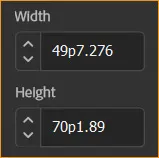
Page Size is the Width and Height of the document or each page in case of a multiple-page documents.
Point to notice: The mouse pointer changes to a black arrow icon when you hover over a Preset input box. You can swipe the black arrow horizontally to increase or decrease the respective value.
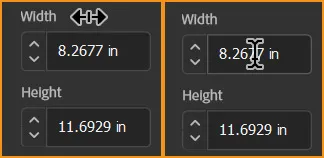
Also, the mouse pointer changes to a black cursor when placed on the Preset input box.
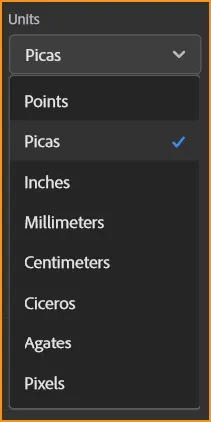
Units

Units option let’s you chose the adequate Unit of Measurements for your document. InDesign supports the following Units: Points, Picas, Inches, Millimeters, Centimeters, Ciceros, Agates and Pixels.
Orientation

We have Orientations as Portrait (tall) and Landscape (wide). It should be noted that, Orientation works in a dynamic way with the dimensions you entered in the Page Size or Width & Height options.
When Height has the larger value, Portrait icon is selected. When Width has the larger value, Landscape icon is selected. Also, selected the deselected icon will switch the values of Width & Height.
Pages

To specify the number of pages in the document.
Point to notice: The mouse pointer changes to a black arrow icon when you hover over a Preset input box. You can swipe the black arrow horizontally to increase or decrease the respective value.

Also, the mouse pointer changes to a black cursor when placed on the Preset input box.
Facing Pages

Select this checkbox to make left and right pages face each other in a double-page spread, such as for books and magazines.
| Facing Pages | Pages Panel |
|---|---|
| If Facing Pages checkbox is checked. It makes the left and right pages face each other in double page spread like books and magazines. | 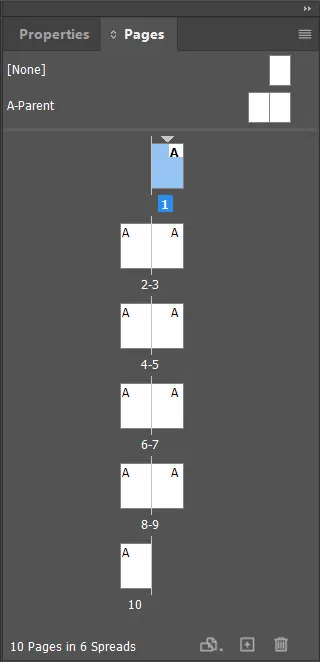 |
| If Facing Pages checkbox is not checked. Deselect this option to let each page stand alone, such as when you’re printing flyers or posters or when you want objects to bleed in the binding. | 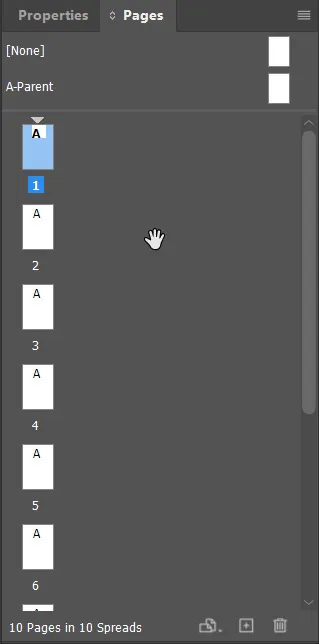 |
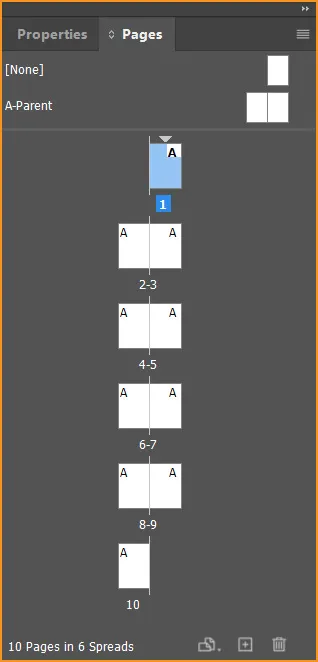
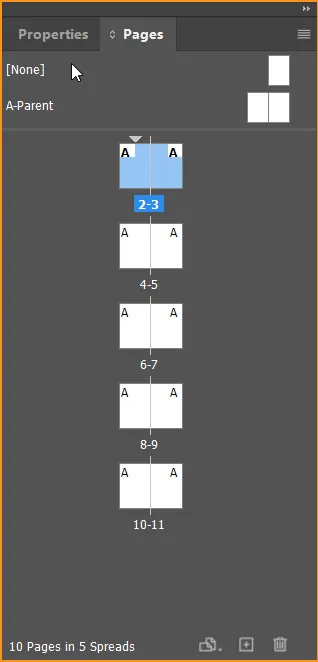
Start #

It specify which number the document starts.
If you specify an even number (such as 2) with Facing Pages selected, the first spread in the document begins with a two-page spread.
| Start # | Start # |
|---|---|
| 1 | 2 |
 |  |
Primary Text Frame

It adds a primary text frame on the parent page.
Columns & Column Gutter

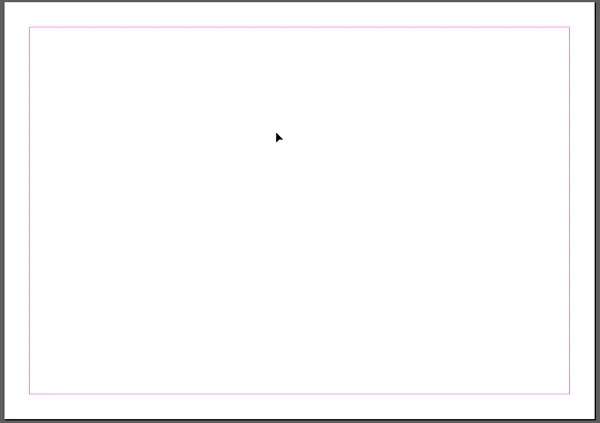
Columns option is used to create columns in the page. By default, it’s one. It is a non-printable division in the page.
| Columns = 1 | Columns = 2 |
|---|---|
 | 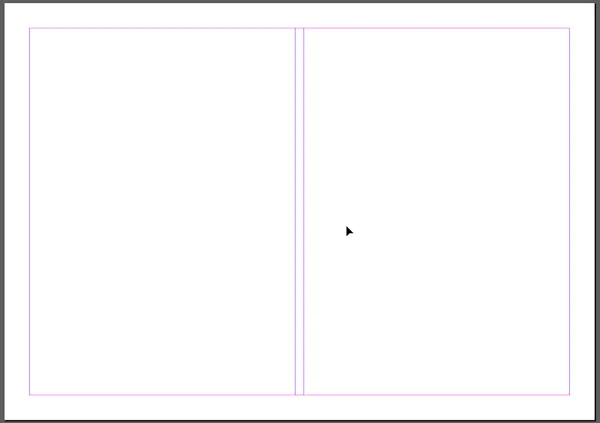 |
Column Gutter is the space between columns, in case more than 1 columns value is used.
Margins
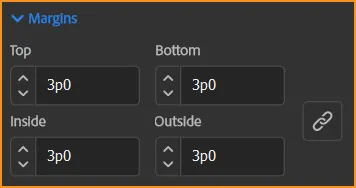
Margin is the space from all the sides of the page. Here you will find 4 values named as Top, Bottom, Inside and Outside.
Top and Bottom are easy to understand but you might be wondering why instead of Left and Right, InDesign has Inside and Outside.
This shows, ‘What is InDesign meant to be used for‘. InDesign is a Desktop Publishing Application. It was originally meant to be used in publishing industry for creating layouts for Books, Magazines etc.
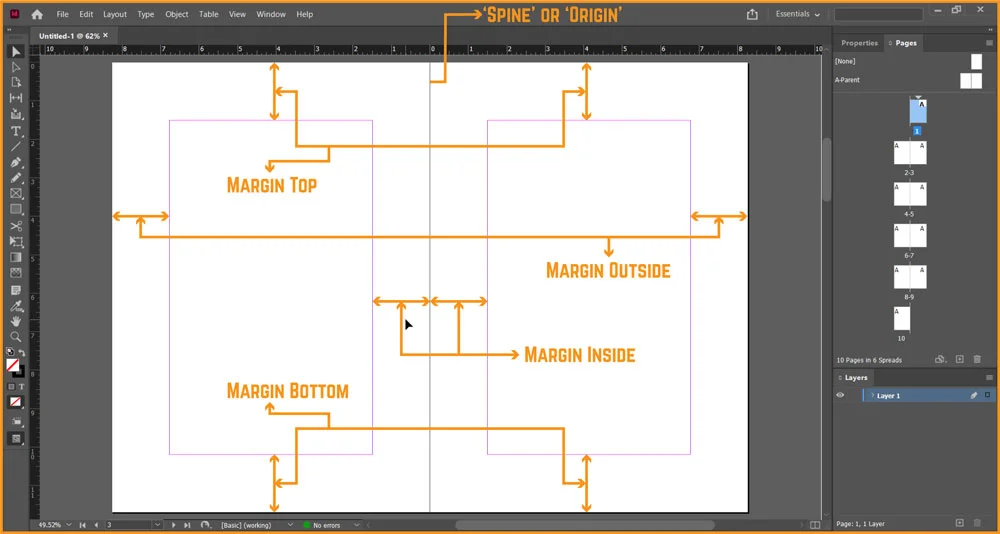
The image above marks all the margin options in the document namely, Margin Top, Margin Bottom, Margin Outside and Margin Inside.
Other than margins, it also shows us the position of Spine or Origin in a Document created using Facing Pages option in InDesign. Spine or Origin is the place where Left and Right pages meet in a book or magazine.
Margins also help in protecting the printed content from physical damages done due to aging or liquid spill.
Bleed and Slug
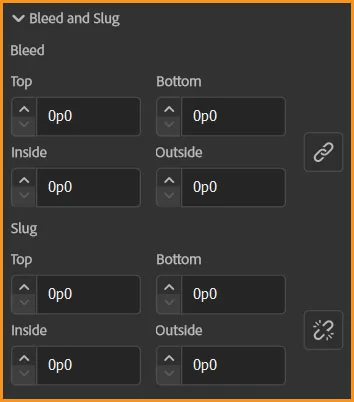
What is Bleed in InDesign
Printers are unable to print to the edge of the page, creating an unwanted white margin around the document.
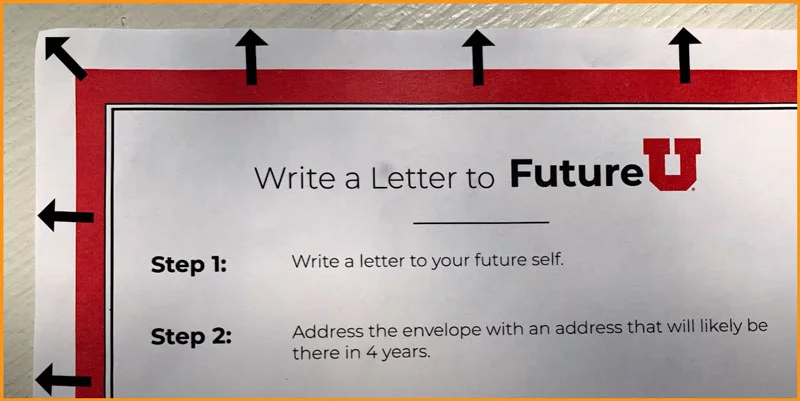
To avoid this, we need to add a bleed to each side of the print document we design.
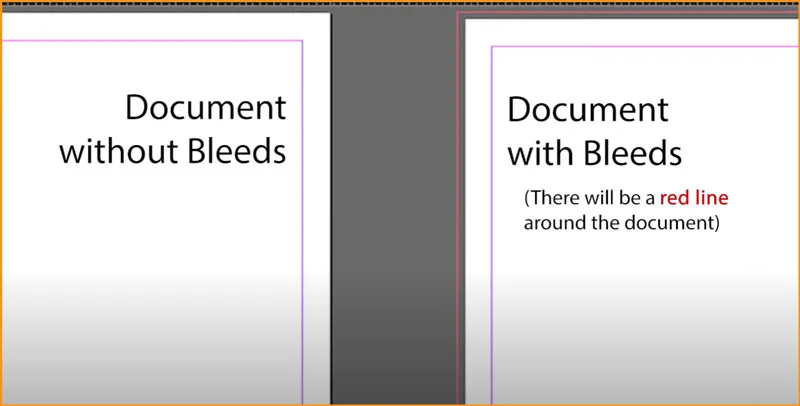
Bleeds extend the colors and elements, past the edge of our document, so that it can be printed and trimmed down to size with no unwanted white margin around the edges.
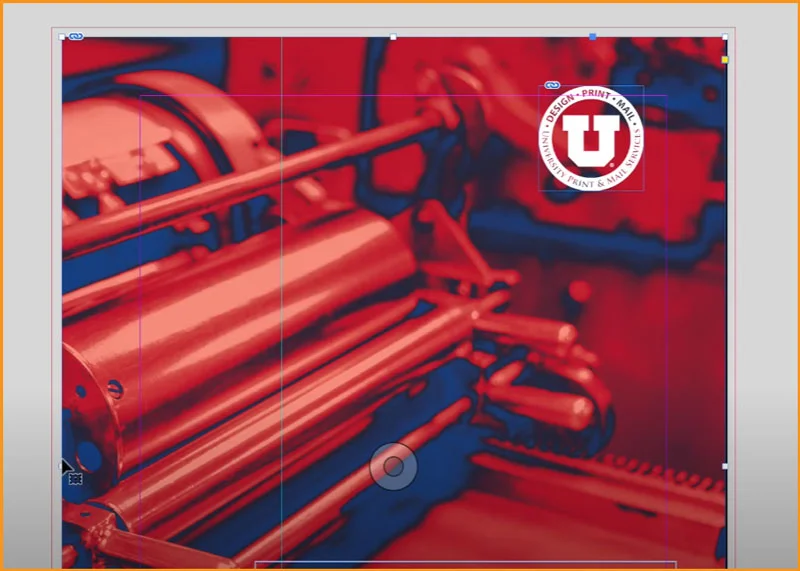

The standard size for Bleed is 0.125 inches.
What is Slug in InDesign
It refers to an area outside the boundaries of Page or Spread and Bleed. It can be used for a number of things including Design Information, Notes etc.
They are absolutely no rules for what we can and what we can’t put in the slug area.
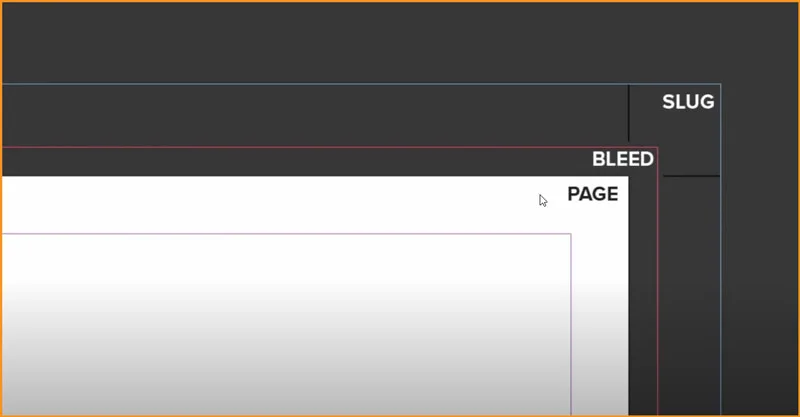
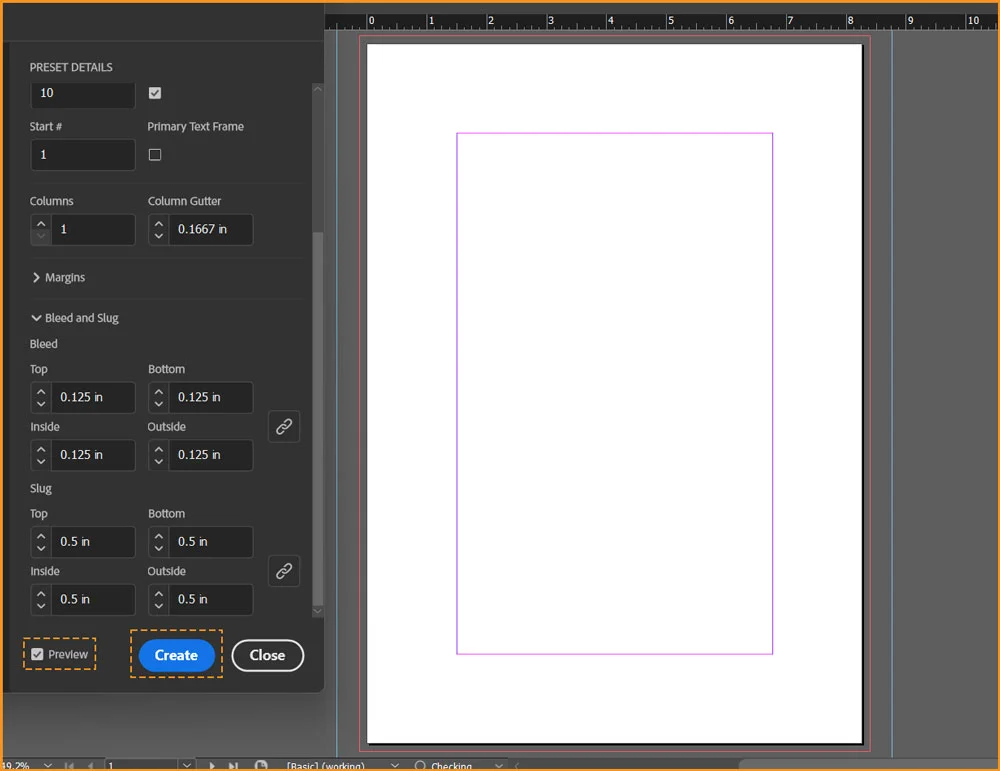
Preview and Create
After filling up, all the above details in the New Document dialog box, we have preview the document by using the checkbox available for preview and then click on Create button to create the document.
Document Overview
We have discussed all the options available in New Document dialog box. No, you will notice, after creating a document in InDesign, the interface of InDesign changes a bit. Let’s get familiar with it.
For this purpose, I’m creating a 10 pages document with Facing Pages enabled. It has Margins, Columns, Bleed and Slug too.
Let’s start with the overall interface.
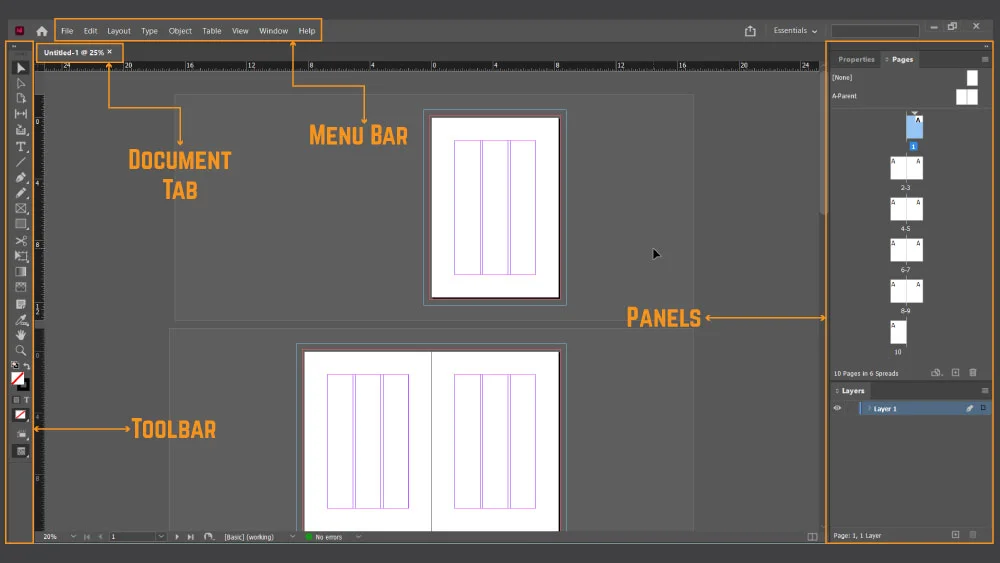
In the image above, we have marked:
- Menu bar
- Document Tab
- Toolbar
- Panels (currently Properties, Pages and Layers Panel)
Now, let’s take a look at different things available inside the document.
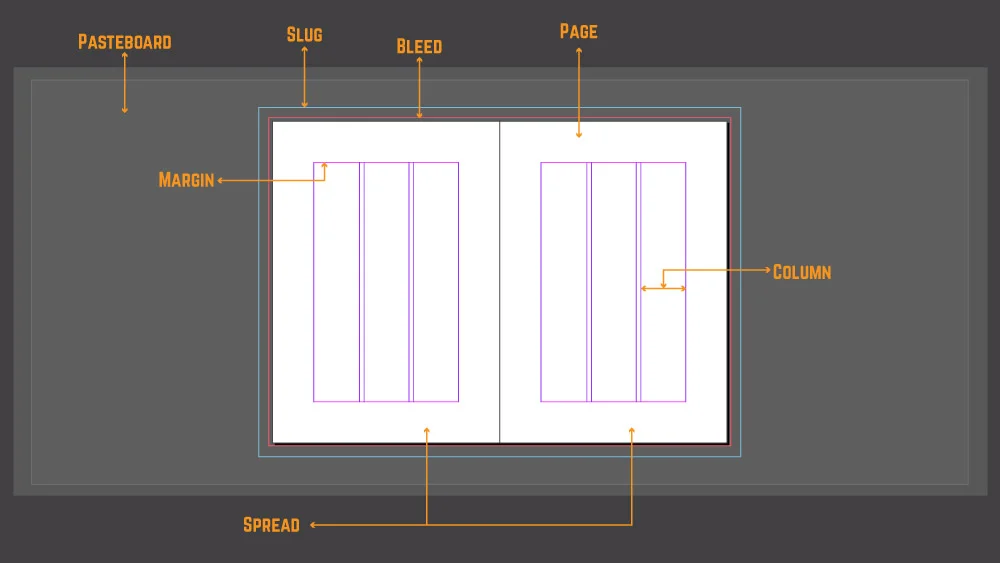
Most of these are already been discussed above. The rest of them are:
- Pasteboard: A rectangular area inside which our whole Page, Bleed and Slug is created.
- Spread: Facing pages combined together (as shown in image above) are called Spread.
Frequently Asked Questions
What is the default Unit of Measurement in InDesign?
Picas is the default Unit of Measurement in InDesign.
How to change default Unit of Measurement in InDesign?
We can change that by going to Edit menu then Preferences and then choose Units & Increments. In case of a Mac, go to InDesign menu, choose Preferences and then Units & Increments.
How to change document setting after we have created it?
Go to File menu, select Document Setup…


