In this blog, we will be discussing about the ‘Select menu in Photoshop‘. My name is Lalit Adhikari and we are at LTY. Let’s get started!
Introduction
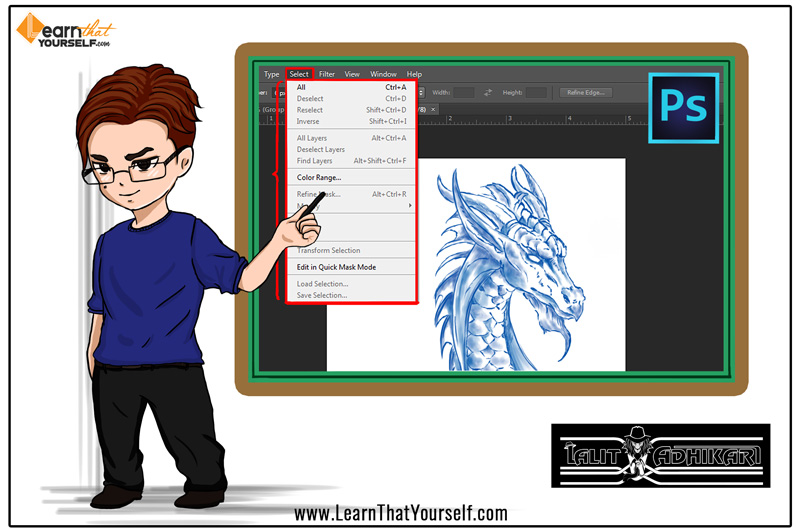
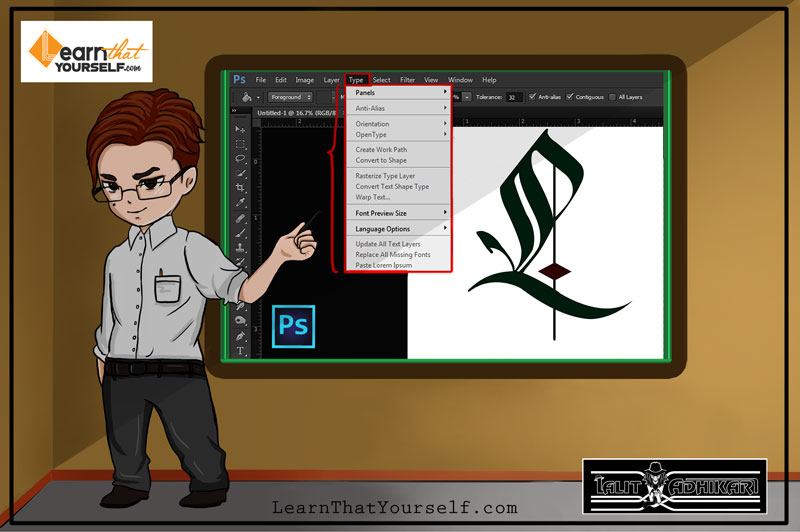
Select menu in the menu’s bar of Adobe Photoshop allows us to modify, edit and manipulate our selections. There are various options available in this panel which allows us to make automatic selections based on similar colors and precise borders.
All

This is the first option is the select panel in Adobe Photoshop. This option allows us to select everything within a single layer. First, go to the layer’s panel and select that layer, then click on the ‘select’ menu from the menu bar and select ‘All’ option. The shortcut key for this option is Ctrl + A
Deselect
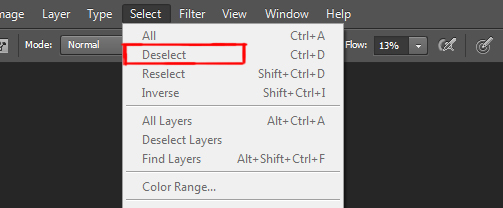
The next option in the select panel is ‘Deselect’. This option is used to deselect a selection. For example, you made a selection with any ‘Selection Tools in Photoshop‘ and if you want to ‘deselect’ the selection.
You can do one of the following:
- Go to select menu and choose ‘deselect’.
- Or click anywhere outside the selection using the selection tool.
The ‘Shortcut Key’ for this option is Ctrl + D
Reselect
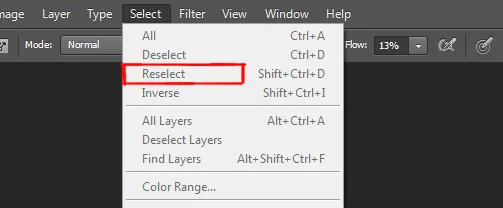
If you have ‘deselected’ your selection by mistake or want to make the same selection again then this option is quite useful. Go to the select menu and choose ‘Reselect’, you will get your old selection back. The ‘shortcut key’ for this option is Ctrl + Shift + D
Inverse
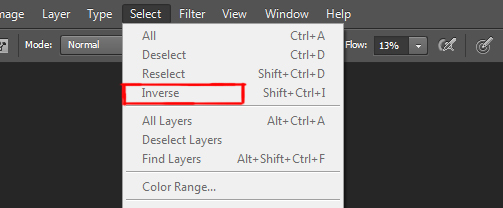
This is the fourth option in the drop-down menu of the select panel. This option is used if you want to select all the area outside your original selection. For this, go to the select menu and choose ‘Inverse’. You can also use ‘shortcut key‘ for this option which is Ctrl + Shift + I
All Layers
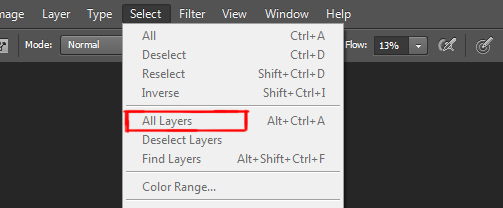
This option allows us to select all the layers of Photoshop, rather than going manually and selecting all the layers. You can go to the select menu and chose the option ‘All Layers’ and all the layers in your document will automatically be selected. The shortcut key for this option is Alt + Ctrl + A
Deselect Layers
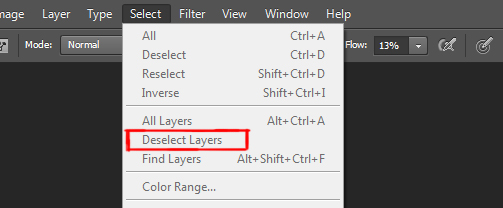
This option deselects the layers that were selected through the previous option or by any other method.
Color Range

Through this option, you can make very intricate selections of areas in your image. To understand this let’s take an example. So, here what you will do is with your background layer selected, you need to go to ‘Select Menu’ and then choose ‘Color Range’ from the drop-down option.
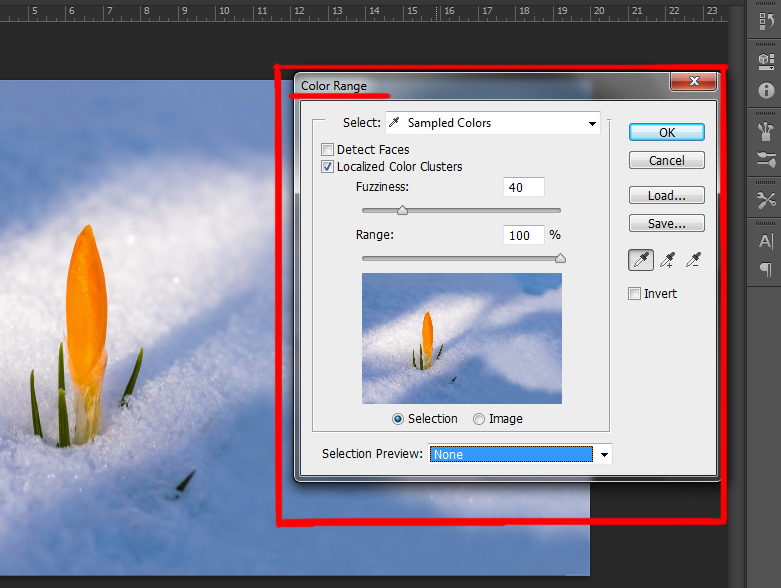
Now, you need to do one thing here, select the background layer because if you have any other layers in your palette it would make a selection of all of those other things too. Let’s say you have curves adjustments layers or mask selected, it would make a selection of that object. So, you have to make sure that you are making a selection of the ‘true object’ that you want.
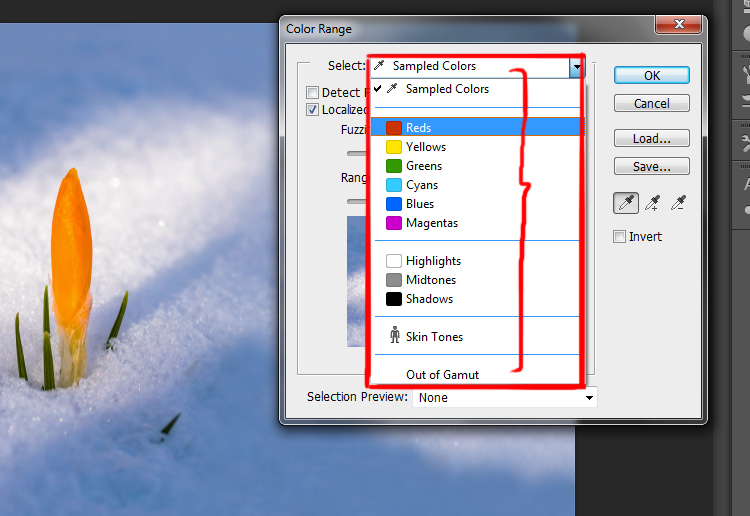
We can make a color range selection from our ‘Reds’, ‘Yellows’ ‘Greens’, ’highlights’, and ‘mid-tones’. If you select ‘sampled color’ that is going to make a selection of areas that you select. You can use the eyedropper tool here and start selecting your image.
The eyedropper tool here is looking at the luminance values of the areas you select and giving you a mask of anything that is roughly in the same color range of that object you’ve selected.
Let’s suppose you select a big swatch of red, it will select all the reds in the image. And through this, you can make very intricate selections.
So, when you choose this option from the ‘select menu’, a dialogue box will open up. The first option is ‘select’ where you have ‘sampled color’ as default. Underneath this, there is another option called ‘fuzziness’ where if you increase or decrease this that shows you how big or small your selection is going to be. At the bottom of the panel, there is an option called ‘selection preview’ which is a drop-down menu.

- Grayscale: And if you set this option as grey scale, anything ‘white’ is going to be your selection and anything ‘black’ will not be a selection.
- Black Matte: You can also change it to a ‘black matte’ which allows you to see your selection on top of a black surface. Whatever ‘black’ is in the image will not going to be selected and it will be showing you all of the colors on the top of that.
- White Matte: In the option ‘White Matte’ whatever ‘white’ is in the image will be selected and it will be showing all the colors on top of that.
- Quick Mask: In ‘Quick Mask’ the whole image comes under a ‘red overlay’. The items that you see colored in ‘red’ is the part of the image that has been ignored. And the ‘subject’ which is fully colored is your selection. As long as you have ‘selection’ on the screen, when you enable quick mask mode you’ll see an overlay color which is ‘red’ by default.
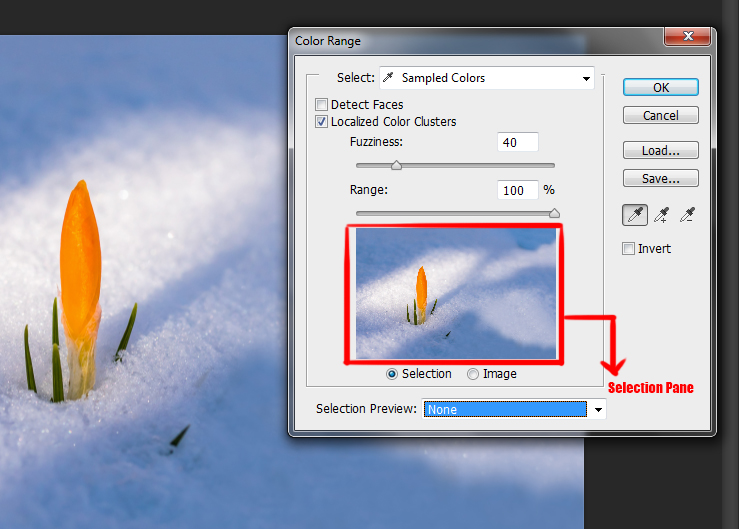
On your Selection Pane, you can either have it show you what your selection is or you can have it on your image. So, you can click anywhere in the ‘Selection Pane’ and start to get a preview of what your selection is going to be based on what you are clicking on.
So, if you change the ‘preview’ to ‘none’ which is no selection preview and then you click on the image. That will also give you your selection too and then you can change it back to grayscale if you want to look at the image on a bigger scale rather than a tiny window pane.
In the second option of the panel, there are two options:
- Detect Faces
- Localized Color Clusters
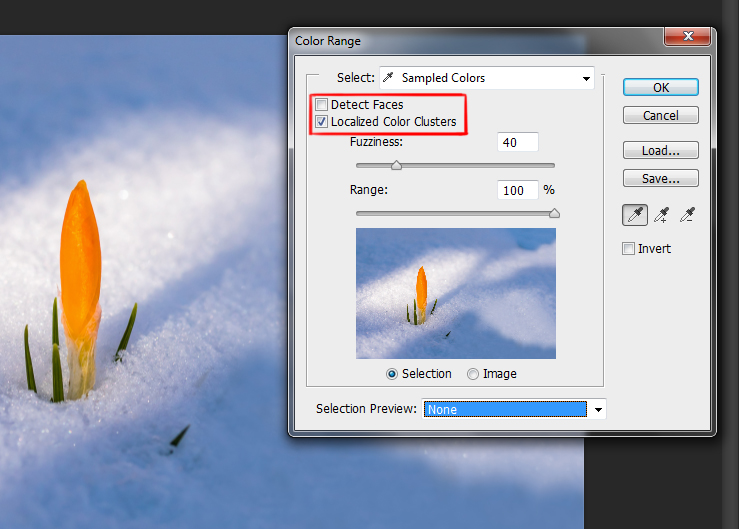
Detect Faces: This feature allows you to detect skin tones and facial features and thus help you to make the accurate selection.
Localized Color Cluster: If you click this option it’s going to open up a range adjustment slider. As the default, the range is set to 100%. And this is telling Photoshop to select this color and any color that are close to that color in that same selection.
In the right side of the dialogue box, you have a ‘+’ and ‘-‘ eyedropper tool. If you select the ‘+’ eyedropper, it’s going to allow you to add more points to your selection.
Refine Edge
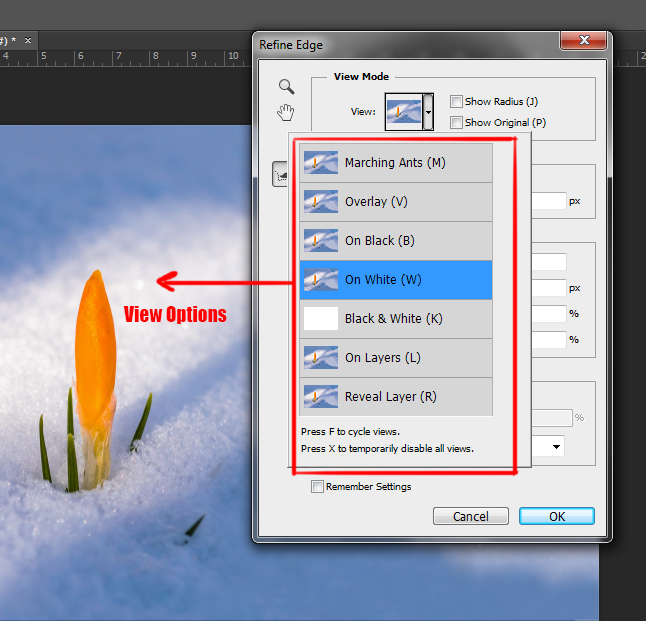
Before using this option, if the image is in your background layer then go ahead and unlock that layer. Now, make a selection of your subject using any of the selection tools. Once you’ve done that go to the select menu and select the ‘refine edge’ option and the refine edge dialogue box will open up.
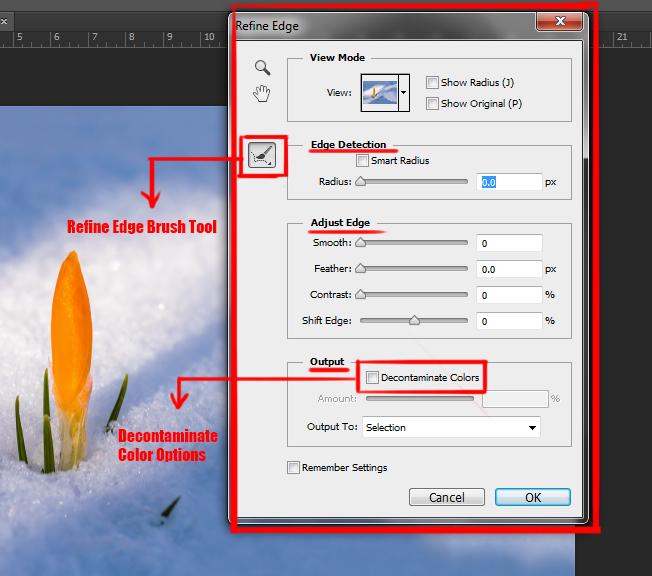
You have a number of ‘View’ option you can choose from like you can have it displayed on black, overlay, marching ants and many more. Underneath this option, there is a checkbox option called ‘smart radius’ in the edge detection sections.
You increase that radius of that option and then go to ‘refine radius tool’ on the left side of the dialogue box. You have to go to the upper left corner of the screen and then adjust the size of the tool.
Now, take your ‘refine radius brush tool’ and start painting in the around the intricate selections like hairs and when you are finished just lift your mouse up, look how it picks up the fine details.
Although you can still see backgrounds in her hair, so to fix this you need to click on the ‘decontaminate colors option’. This allows you to get rid of the fringe of colors that sometimes contaminates the edge of a selection.
You need to increase that amount a bit notice the subtle difference. Now, I advise you to ‘output’ it now as a new layer with own layer mask and then click ok. The shortcut key for this option is Alt + Ctrl + R
Modify

This option is used to modify the selection. These options have a fly-out menu which has five options like the border, smooth, expand, contact and feather.
Grow and Similar
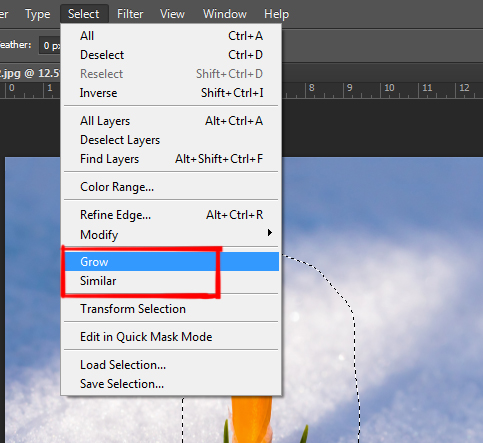
This option will allow you to select all the similar colors from your image and if you want to extend that selection then click on the next option of the ‘select menu’ which is ‘grow’. After selecting that option you will see that the selections which you already have will start growing means some more colors will be added to them.
Transform Selection
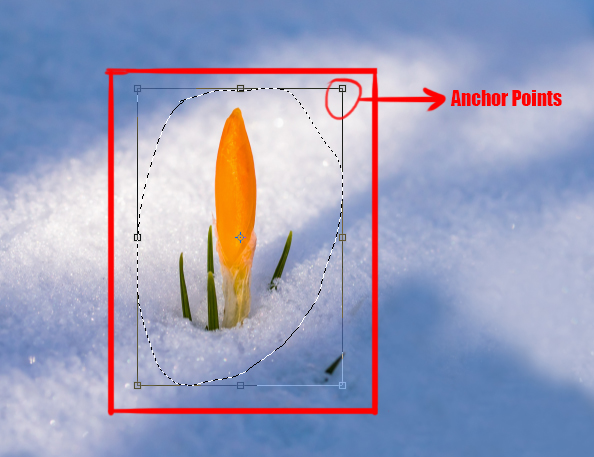
Suppose you want to make a selection and you used one of the marquee tools for that but the selection is not up to the mark because the selection is a bit angled or in a perspective. So, to fix this thing go to the select menu and choose ‘transform selection’ option. Now, this is different from a free transform and it won’t make changes to the image. It will only transform the selection itself.
So, if you select that you will get this control points and you can move them around. You can make it wider, rotate it or warp it and when you’ll press enter you will have your new modified selection.


