In this illustrator lesson, we’ll learn about the Width tool in illustrator and Warp Tool, Twirl Tool, Pucker Tool, Bloat Tool, Scallop Tool, Crystallize Tool and Wrinkle Tool too.
These tools are used for tweaking a path or modify it in a custom way. I am Lalit Adhikari and we are at LTY. We’ll begin by first finding these tools in Adobe Illustrator CC.
Table of Contents
The missing tools in Adobe Illustrator CC
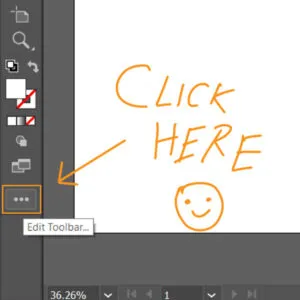
In Adobe Illustrator CC version, Adobe has moved a lot tools in the edit toolbar section. To bring them back, you simply need to follow this process:
The image above shows the Edit Toolbar button. Please ignore the bad hand writing. (Pun intended!)
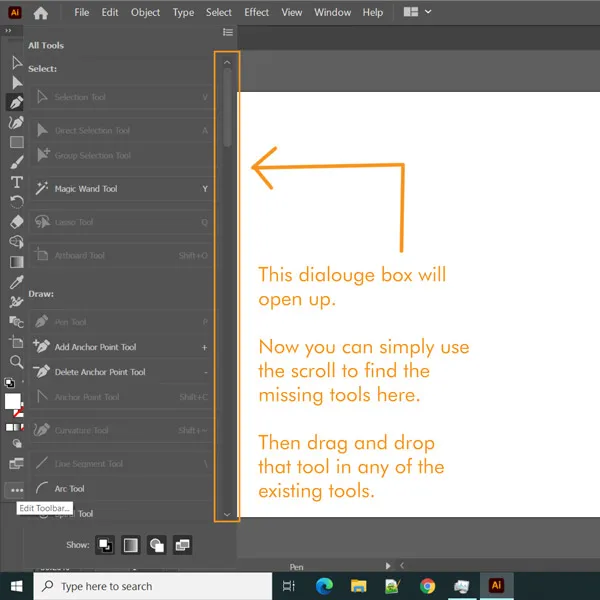
After clicking the Edit toolbar, a dialogue box will open up.
In this dialogue box, click and drag the required tool on any existing tool in the tool panel.
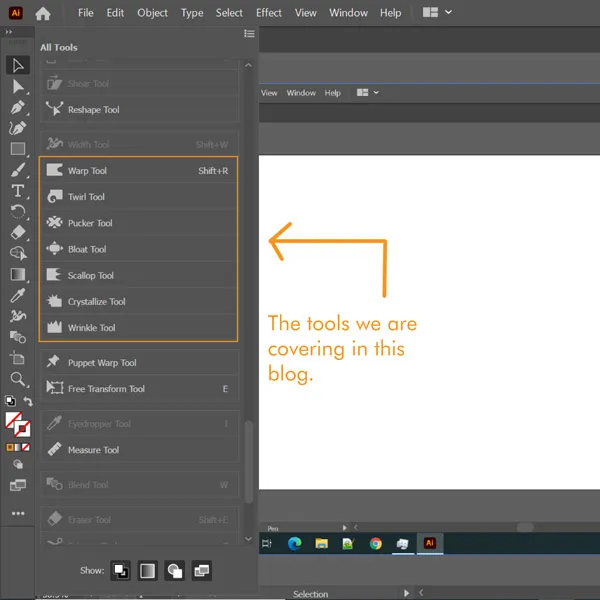
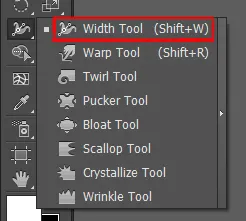
The above image shows where to find the tools, I will be discussing in this blog.
Related Topics:
- Shape Builder Tool, Live Paint Bucket Tool and Live Paint Selection Tool in illustrator
- How to use Gradient Tool in Adobe Illustrator
- How to use Mesh Tool in illustrator
Width Tool
Width tool in illustrator allows you to adjust the width or thickness of a stroke at a particular point. If you have any stroke outline whether it’s something you’ve drawn with the pen tool or any shape tool then you can adjust the width at any predetermined point.
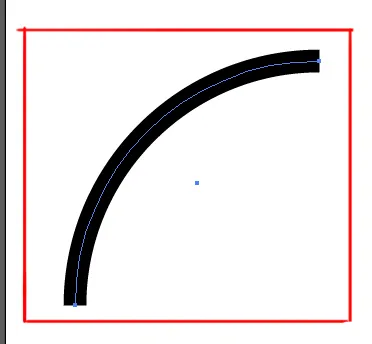
For example: Here I have an arc with a stroke weight of 120 px and the arc it has uniform width all the way around. And with the width tool, you can change its thickness in any way you want.
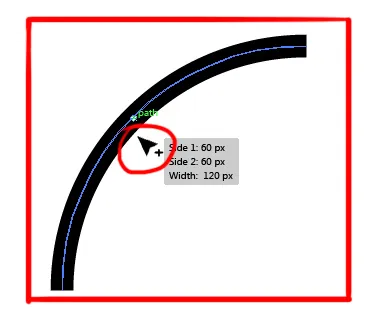
For this, select the width tool from the toolbar and hover over the stroke. While you are doing this, you can see a plus (+) symbol appearing along with the arrow or the cursor.
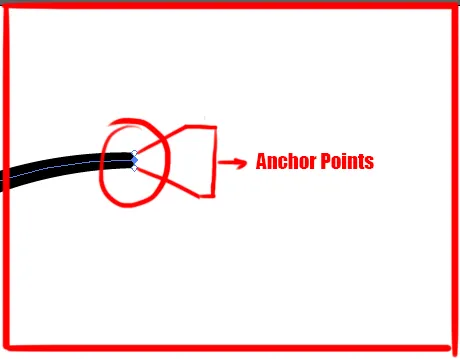
Just make a left click and drag inwards or outwards for decreasing or increasing the width. As you hover over the stroke you can see two little anchor points.
You can click on those two anchor points on either side and adjust the width. You can adjust the width anywhere by clicking at any point in the stroke.
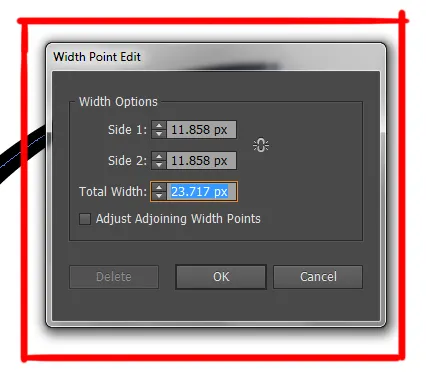
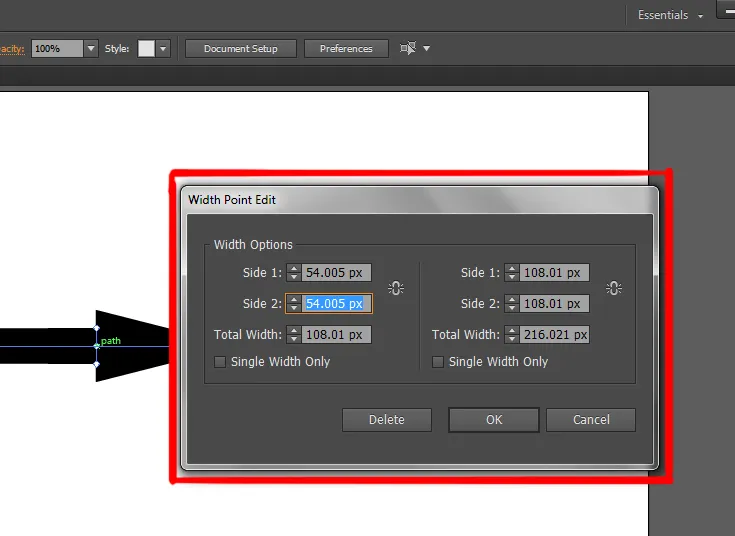
If you double click on the canvas while selecting the width tool, a dialogue box will open up called ‘Width Point Edit’ which will show the width options for either side of the stroke.
There is a link option on the right-hand side of the dialogue box which allows you to uniformly increase or decrease the width of the two sides. You can also use the ‘Total Width’ to increase the overall width of the stroke.
Where there are two points, if you join them together by moving one point on top of another and then double click on this, it will give you slightly different options. It will allow you to adjust either side of this arrowhead that you’ve just created.
The shortcut key for this tool is Shift + W
Related Topics:
- How to make a Semicircle in Adobe Illustrator
- How to Design a Retro Flower Pattern in illustrator
- How to set Brush Pressure in illustrator
Warp tool
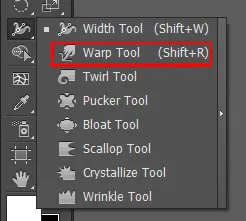
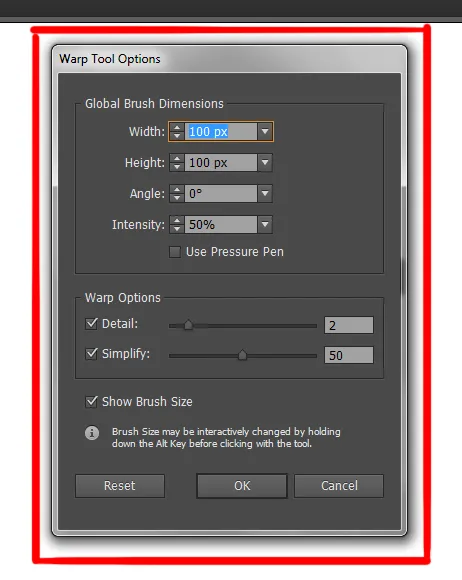
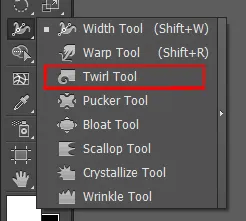
It is the second option in the fly-out menu of the width tool. This tool allows you to warp any shape or stroke. To use this tool just select the warp tool and click over the shape that you want to warp.
You will find various warp options in the dialogue box like brush dimensions and warp options (Details and Simplify) if you want to change the warp settings.
The shortcut key for this tool is Shift + R
Related Topics:
- How to Create A Pressure Sensitive Brush in Adobe Illustrator
- How to Create Metallic Effect in illustrator
- How to Create Flower using Gradient Mesh in illustrator
Twirl Tool
This is the third option in the fly-out menu of Width Tool. And as the name suggest this tool will allow you to create twirls.
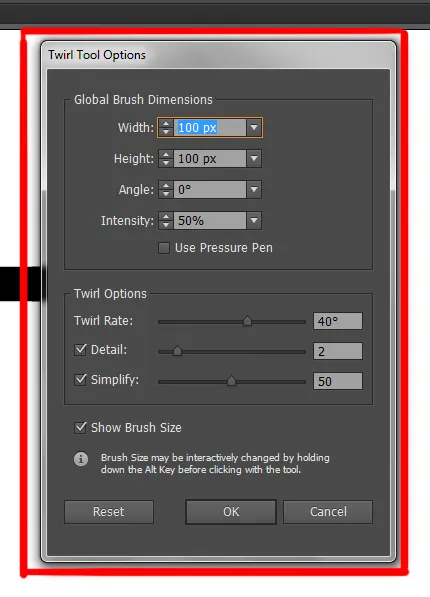
And same as the other tools, if you double over the tool it will open up a dialogue box which will have various options like Brush Settings and Twirl options (Twirl Rate, Detail and Simplify).
And as we click and hold it will create twirls on the line. There are three options in twirl options section in the dialogue box. And these are:
- Twirl Rate: which means the number of times the twirls will rotate.
- Detail: It implies the number of anchor points.
- Simplify: It implies that more the ‘simplify’ value, smother is the twirl.
Related Topics:
- How to Recolor Artwork in illustrator
- How to Create Silver Metallic Effect in Illustrator
- What is Adobe Illustrator
Pucker Tool
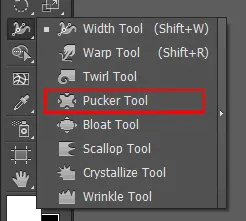
This is the fourth option in the fly-out menu of the Width tool. And this tool allows you to create sharp edges depending on how much you pull it down or across.
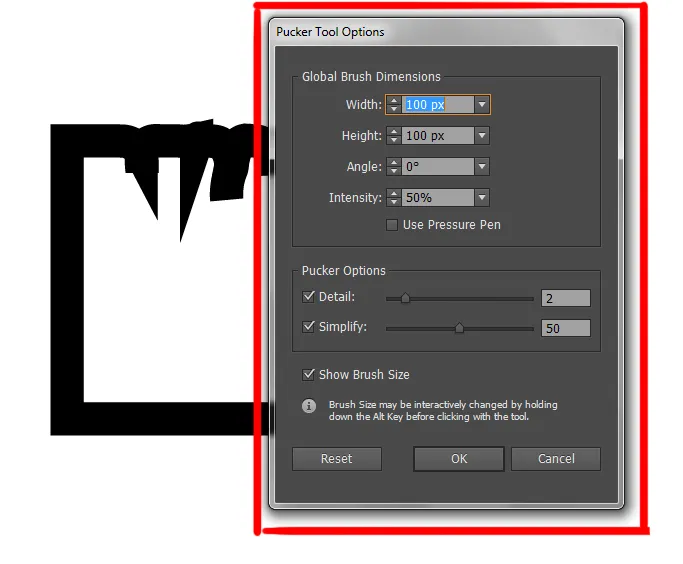
And as you double click over the tool it will open up a dialogue box which will have a series of options similar to the warp tool like brush tool and pucker tool settings.
Note: In all these tools you can adjust the brush size by pressing Alt key.
Related Topics:
- Line Segment Tool, Arc Tool, Spiral Tool, Rectangular Grid Tool & Polar Grid Tool in Adobe Illustrator
- Rectangle Tool, Rounded Rectangle Tool, Ellipse Tool, Polygon Tool, Star Tool & Flare Tool in Adobe Illustrator
- Type Tool, Area Type Tool, Type on a Path Tool, Vertical Type Tool & Wrapping Text around Graphics in Adobe Illustrator
Bloat Tool
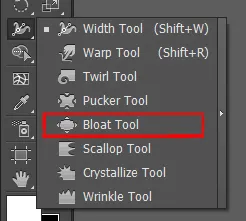
It is the fifth option in the fly-out menu of the Width Tool. This tool does the opposite of the pucker tool. This tool allows you to bloat the shape depending on which way you drag the cursor.
The series of options that you will get after double-clicking over the tool is the same as the pucker tool.
Related Topics:
- Paintbrush Tool & Blob brush Tool in Adobe Illustrator
- How to use Eraser tool, Scissors Tool & Knife Tool in Adobe Illustrator
- How to use the Pen Tool in illustrator
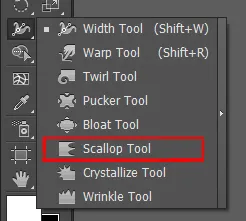
Scallop tool
This tool is in the sixth option in the fly-out menu of Width Tool. This tool allows you to create scallops like shapes above your path as we click and drag.
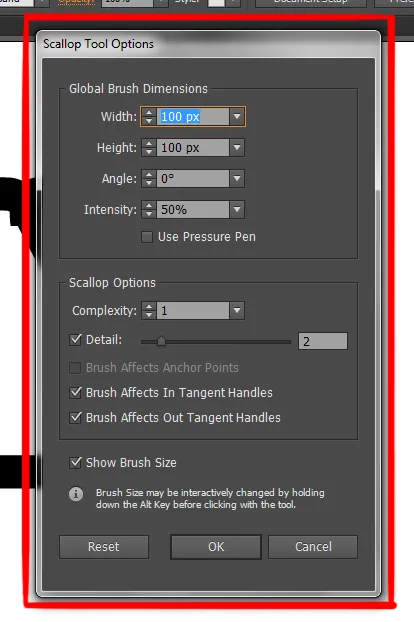
As you double click over the tool you will find similar settings like brush dimensions and scallop settings.
In scallop settings, if you increase the complexity of the scallops then you will get scallops with more details.
There are two check-boxes below the scallop settings:
- ‘Brush Affects in tangent handles’
- ‘Brush Affects out tangent handles’
And if you ‘un-check’ those check-boxes, it will mean that the brush affects the anchor points. Or in other words, Scallop will have an effect on anywhere there’s an anchor point.
Related Topics:
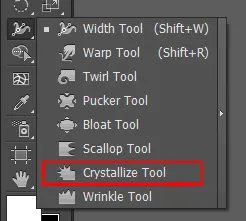
Crystallize tool
This tool is the seventh option in the fly-out menu of the width tool. It generally creates spiky edges of a stroke or a shape. The tool settings of this option are similar to that of scallop tool.
Related Topics:
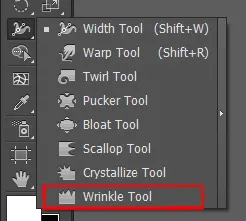
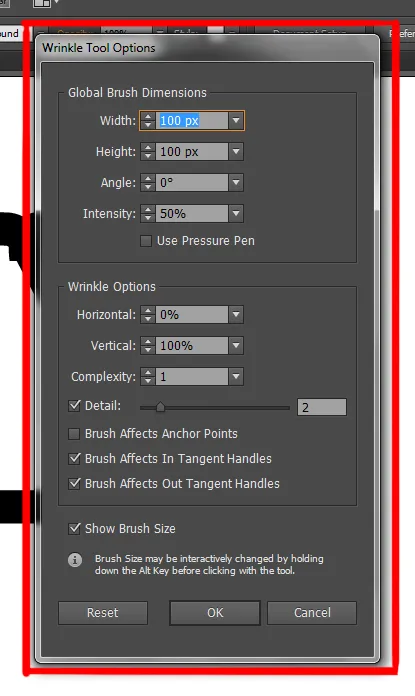
Wrinkle Tool
This is the eighth and last option in the fly-out menu of the wrinkle tool. And as the name suggests this tool will apply wrinkle over your stroke or shape.
If you got a shape with a uniform edge then this tool is very useful if you want to get rough out edge look or a hand-drawn edge look.
If you do double click on the canvas, a series of options will open up which is quite similar to other tool settings except the ‘wrinkle options’ have two additional settings (Horizontal and Vertical).
About the Author
Lalit M. S. Adhikari is a Digital Nomad and Educator since 2009 in design education, graphic design and animation. He’s taught 500+ students and created 200+ educational articles on design topics. His teaching approach emphasizes clarity, practical application and helping learners.
Learn more about Lalit Adhikari.
This guide is regularly updated with the latest information about Adobe tools and design best practices. Last Updated: Mar 2026
Related Topics:
- Color Theory
- Basics of Design
- Elements of Design
- Principles of Design
- Creativity is a Journey not Destination
- Breaking Down Creative Barricades
- Graphic Design: Everything you should know!
- How to draw Human Anatomy
- Foreshortening in Human Anatomy
- Muscle Anatomy







I’m really enjoying the design and layout of your website. It’s a very easy on the eyes which makes it much more pleasant for me to come here and visit more often. Did you hire out a designer to create your theme? Great work!