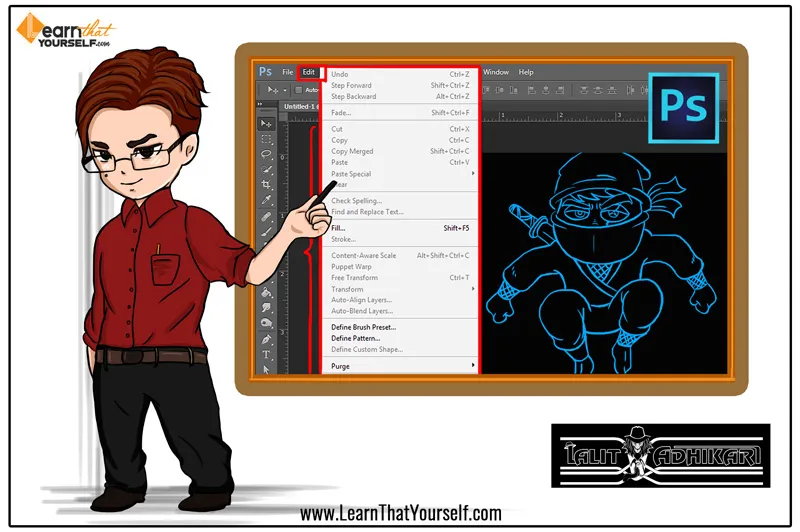
In this Photoshop Lesson, I will be discussing about, “Edit menu in Photoshop“. My name is Lalit Adhikari and we are at LTY. Let’s get started!
Table of Contents
Introduction

‘Edit’ is the second menu panel in the Menu Bar. Here, you can access and edit different commands in Adobe Photoshop. To understand the Photoshop interface and Photoshop, in general, we need to understand these menu panels thoroughly.
Undo

In Adobe Photoshop, you can go back to the previous state of your artwork or design by clicking on the option ‘Undo’ option in edit menu panel.
For example, if you draw a line using brush tool and then erase it with the eraser tool, by clicking on this option, you can change into ‘Undo Eraser’, you can get the un-erased version of your line.
Related Topics:
Redo

In this option, you can precede a step further in your process of making your design. This option comes handy if you have accidentally clicked ‘Undo’ option.
Toggle Last State

This option is helpful, if you have to Toggle Last State or in simple words, ‘if you have to toggle between your last step or action and previous state’.
Fade
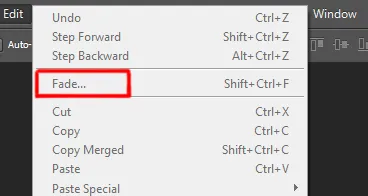
If you have an image and you’ve changed its adjustments from the menu bar option, you can increase or decrease the opacity of that effect or set it to other blend modes. This method is a form of destructive editing. So my advice here will be on try ‘masking’ instead.
For more details and examples, read ‘Fade Command in Photoshop‘.
Related Topics:
Cut
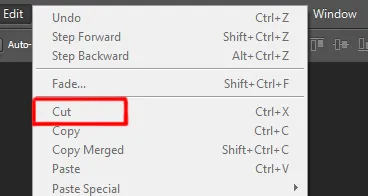
In this option of Edit menu, if you can select an object which is in one of your layers by clicking Ctrl + A and then go to edit menu and select ‘Cut’, then you can transfer this image to the other document.
Copy
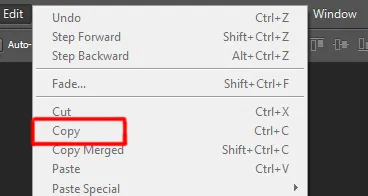
In this option, you can copy an image or a part of a selection. You can also do the same by clicking Ctrl + C on your keyboard. One important thing to keep in mind is that, if you are copying any content from type layer, it will be rasterized when you will paste it into any other document.
Copy Merged
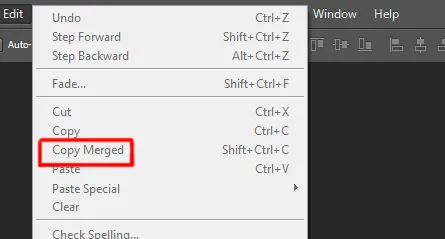
If your selection is divided into many layers and you want to copy all the content inside your selection, then go to edit menu in the window panel and select copy merged. The shortcut key for this option is Shift + Ctrl + C
Related Topics:
Paste
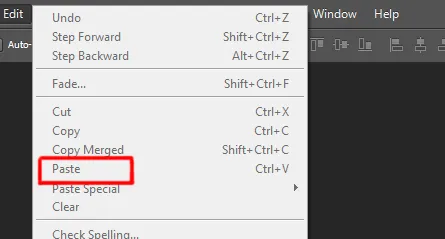
In this option, you can paste any image or content that you have copied from anywhere into your document. The shortcut key for this option is Ctrl + V
Paste Special
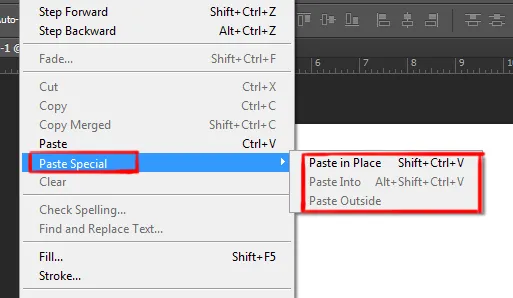
In this option, you can paste your copied image exactly in the place you want. There are three options available inside this option:
- Paste in Place: You can use this option when you want to place your image in the exact same place from where you have copied from. The keyboard shortcut for this command is Shift + Ctrl + V
- Paste Into: This option is used when you want to paste an image inside a selection you’ve created. The image gets pasted on another layer while the selection outside image is layer masked. You can only see the pasted image in the selected area while the rest is hidden under a layer mask. The shortcut key for this command is Alt + Shift + Ctrl + V
- Paste Outside: If you want to paste any image outside your selection then this is that option. It is something opposite of ‘Paste Into’ option. As you’ve pasted your image outside the selection, the rest of the image will hide under a layer mask. This option is very useful if you are swapping an image frame or border. This option doesn’t have a short key.
Related Topics:
- Color Replacement Tool & Mixer Brush Tool
- Healing, Clone & Pattern Stamp Tools in Photoshop
- How to use Gradient Tool in Photoshop
Clear
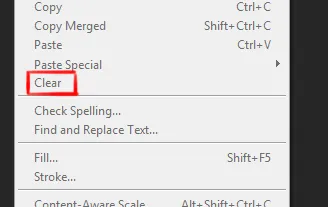
This option is used to delete anything inside the selection.
Search
Search in Edit menu opens a panel box called Discover Panel. We use the Search feature to quickly find tools, menus, tutorials, tips, assets, documents, layers and more.
For more details and examples, read ‘Search in Photoshop | Discover Panel in Photoshop‘.
Check spelling
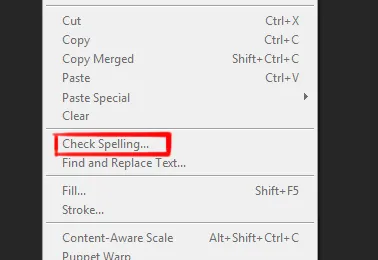
In this command, you can check the spelling of your text by clicking on this option. Photoshop identifies the possible errors in the content of your text that is ‘not in the dictionary’, click on ‘Suggestions’ to get the recommended correction of the word.
You can also choose from one of the options:
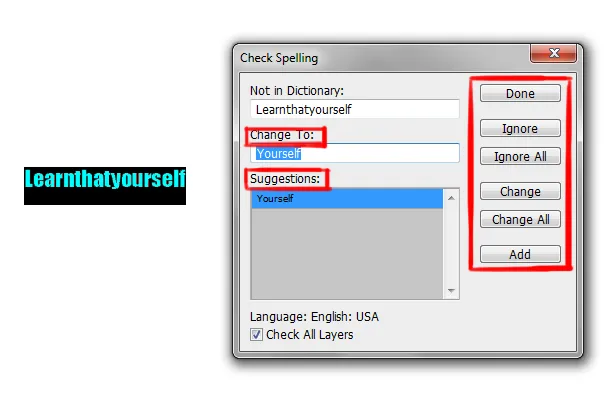
- Ignore: In this, you can leave the word unchanged and proceed for further checking.
- Ignore All: In this option, you can ignore all words which need to be checked.
- Suggestions: In this option, you can select any suggested word from the suggestion box or can type the correct spelling yourself.
- Change All: In this option, we can correct all occurrences of misspelled words in one go.
- Add: In this option, you can add any unfamiliar words in your dictionary that was previously not there.
At the end of your editing click ‘Done’ button and your check spelling dialogue box will close. You can read our Photoshop Lesson about ‘Check Spelling in Photoshop‘.
Related Topics:
- Burn, Dodge & Sponge Tool in Photoshop
- Blur, Sharpen & Smudge Tool in Photoshop
- Foreground Color, Background Color, Stroke & Fill
Find and Replace Text
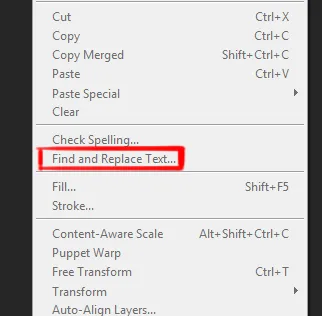
If you have written a paragraph in the text layer and typed a wrong word multiple times then you have the option to change that in one go. After selecting the option ‘find and replace text’, you will find a dialogue box opens up.
From there you can type the misspelled word on ‘find what’ box and can type the correct word in ‘change to’ box. There are different options for changing the words and these are:
- Change: This option is only used when you have to change a single misspelled word in one paragraph.
- Change All: In this option, you can change all the misspelled word in one go.
- Change/Find: In this option, Photoshop searches for another misspelled option after it rectifies the first one. So, the correction occurs one at a time.
You can also read our Photoshop Lesson on, ‘Find and Replace Text in Photoshop‘.
Fill
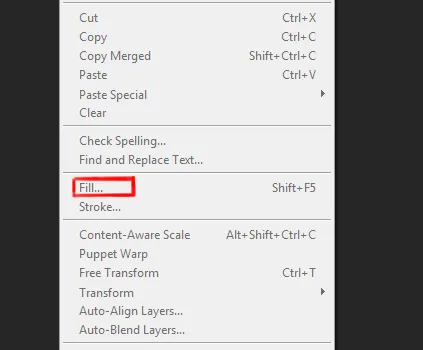
This option adds color or pattern to the entire selection. The color can be anything from solid to the gradient. You can make a selection with any selection tool; select the fill option from the edit menu and fill it with any color you like. You can learn more about the fill foreground-background color post.
You can read our Photoshop Lesson on ‘Fill in Photoshop‘.
Related Topics:
Stroke
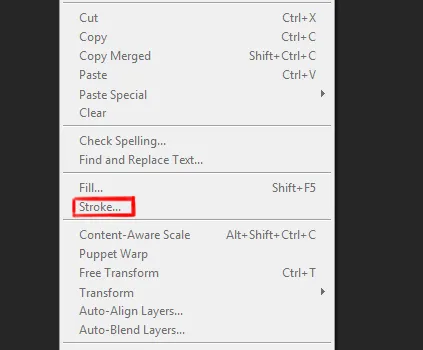
In this option, you can apply color to only the edge of the selection’s border. First, you need to make a selection with any selection tools and then from the edit menu select the stroke option. Your stroke can be customized by applying an adjustable width and opacity.
You can read our Photoshop Lesson on ‘Stroke in Photoshop‘.
Content-Aware Fill
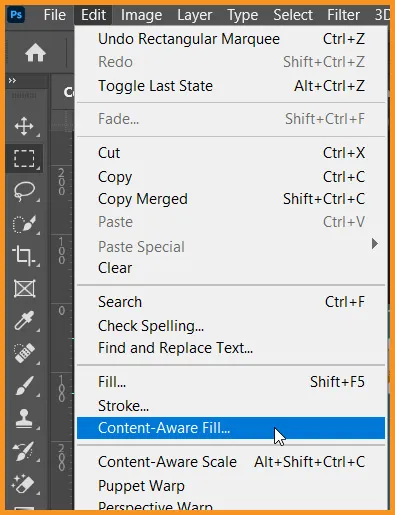
Content-Aware Fill command under Edit menu in Photoshop, lets us Fill or Remove the unwanted objects in the image by using an advanced Algorithm Powered option in Photoshop.
Photoshop tries to Fill to Fill the selected area by sampling surrounding pixels. Sampling area is auto selected by Photoshop or can also be defined by us.
You can also read our Photoshop Lesson on ‘Content-Aware Fill in Photoshop‘.
Related Topics:
Content-Aware Scale
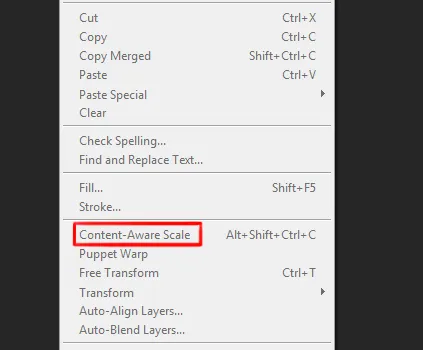
This option is an image sizing feature of Adobe Photoshop. This option helps us to resize and reshape our image without distorting its content. This tool works much better than other transforming tools. This tool doesn’t work on layer masks, adjustment layers and smart objects.
To use this option, first, select the image and then go to the edit menu and select the Content-Aware scale. You can click and drag the handles of the scale box that surrounds your selection to resize your image. After you are done with your scaling, double-click inside the scale box. The shortcut key for this option is Alt + Shift + Ctrl + C
You can read our Photoshop Lesson on, ‘Content-Aware Scale in Photoshop‘.
Puppet Warp
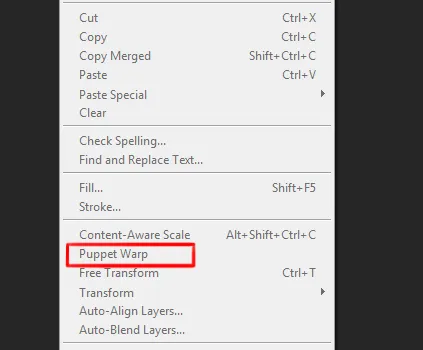
In this option, you can distort the specific areas of the image with the help of a mesh and placements of pins. Consider this option as a lightweight version of ‘liquefy’ filter.
To use puppet warp select the layer from the layer’s panel, go to edit menu and then select puppet warp. In the options bar, there are specific settings for this tool such as:

- Mode: This option determines how much elastic your mesh is. There are three types of mode and these are normal, rigid and distort. In the distort mode, you can get very flexible mesh but in the rigid mode, you will get a very rigid mesh.
- Density: It specifies the spacing of the mesh. Other than ‘normal‘ it has two other options like ‘fewer points‘ and ‘more points‘.
- Expansion: In this option, you can expand or contract the edges of your mesh.
- Show Mesh: In this option, you can display only pins without mesh.
After you are done with your editing you can exit from puppet wrap by simply clicking the Enter key on your keyboard. To know more about this topic, please read our Photoshop Lesson on, ‘Puppet Warp in Photoshop‘.
Related Topics:
Perspective Warp
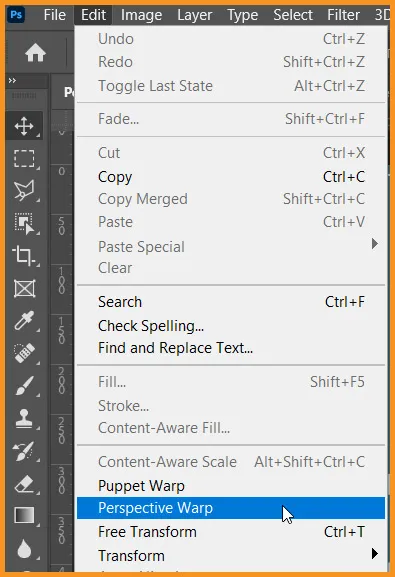
Perspective Warp was introduced in Photoshop CC. It lets us change the perspective of the image. To know more, read our Photoshop Lesson on, ‘Perspective Warp in Photoshop‘.
Free Transform
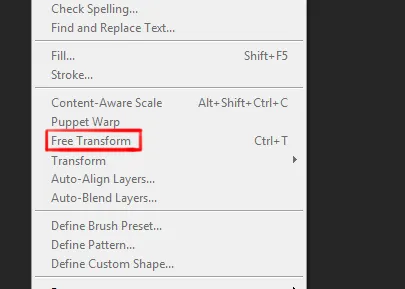
In this option, you can transform a selection. To use the tool, first, open an image in Photoshop, click on the Edit menu and choose free transform. A bounding box will appear around the image with 8 points. You can click on any of those points to adjust the image as well as resizing it.
You can also change the dimension of the image. To apply the transformation simply hit Enter on the keyboard. It’s shortcut for this is Ctrl + T
To know more, read our Photoshop lesson on, ‘Transform command in Photoshop‘.
Related Topics:
Transform
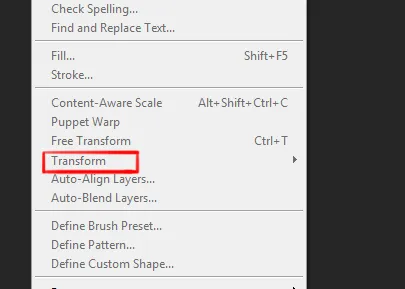
This is another part of the Free Transform with other options available such as:
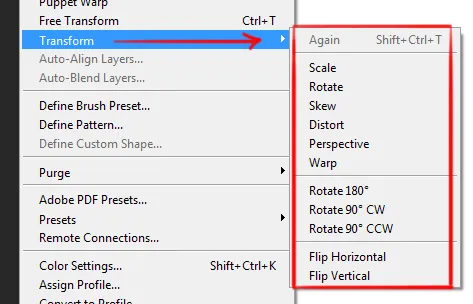
- Scale: In this option, it will enlarge or reduce the relative image relative to its reference point.
- Rotate: In this option, you can turn the object from its reference point.
- Skew: In this option, it slants an item vertically or horizontally.
- Distort: Allow us to move all of the bounding points individually. It is similar to normal free transform but it gives you a bit more flexibility. If you want to cancel any free transform simply hit the ‘Enter’ key.
- Perspective: In this option, you can move the bounding points, two at a time, according to perspective, although this option is less flexible than distort.
- Wrap: It changes or manipulates the shape of the item. You can do that by click and drag the grid points of the grid mesh.
- Rotate 180’, 90’ CW and 90’ CCW: In this option, you can rotate the image in a specific number of degrees by both clockwise and counterclockwise.
- Flip( Horizontal And Vertical): In this option, you can simply flip the image horizontally and vertically.
Note: To maintain the correct proportion of the image transform by holding shift key or Alt + Shift to transform it without changing its position.
To know more, read our Photoshop lesson on, ‘Transform command in Photoshop‘.
Related Topics:
Auto-Align Layers
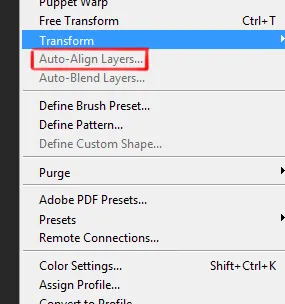
Auto-Align Layers command in Photoshop allows you to composite multiple images and align them in the correct way. To use this option, first create a document of the same size as your image. Then place the images and from the layer’s panel select all the layers that you want to align.
It is used frequently to create panoramic images.
Go to the edit menu and choose ‘Auto-Align layers‘ command. In this option you can choose a different projection method:
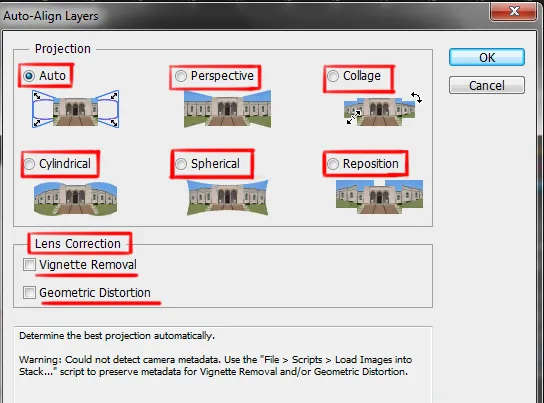
- Auto: In this method, Photoshop creates an automatic composition and then applies to the alignment.
- Perspective: In this option, one layer is taken as a reference while other layers are transformed in a way so that the contents are aligned properly.
- Collage: In this option, you can move, rotate or scale your layers to get your desired alignment.
- Cylindrical: In this option, a layer is taken as center reference and other layers are distributed on sides like an unfolded cylinder to avoid distortions. This is the best option to create panoramic shots.
- Spherical: This option also takes a layer of center reference and other layers are distributed to on the side like a sphere to minimize distortion. This option is useful when the shots are taken in a wide angled lens.
- Reposition: In this option, you can composite oversized scanned image together and make a proper alignment.
- Lens Correction: There are two options in this menu:
Vignette Removal: ‘Vignette’ is a problem generally happens in photography. In this, light at the edges of the image doesn’t reach properly, so it gets darkened. And in this option, you can solve this issue.
Geometric Distortion: In this option, we can remove geometric distortions like bulging out and pinching in.
Related Topics:
Auto-Blend Layers
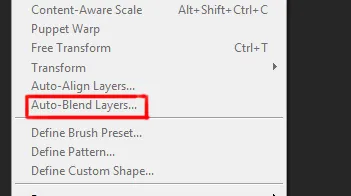
This options will help you to smooth out the color differences and irregularities when two or more images are stitched together. This is done by setting appropriate contrast and exposure. To use this option first repeat the same process you did in ‘Auto-Align layers…’.
After completing this step, select the layers you want to blend and choose the ‘Auto-Blend layers…’ option from the edit menu.
There are two blend modes:
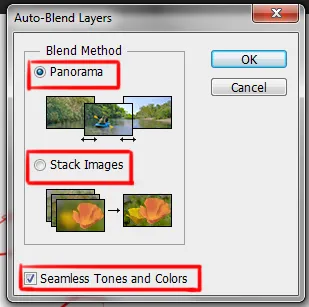
- Panorama: This blend mode is suitable for panoramic shots.
- Stack Images: This option is suitable for non-panoramic shots.
Keep the ‘Seamless Tones and Colors‘ options checked so that you can optimize the blending of multiple images.
Related Topics:
- Step by Step guide for Retro 3D Movie Effect in Photoshop
- 5 Types of Masking in Photoshop
- Photoshop Gold Text Effect
Define Brush Preset
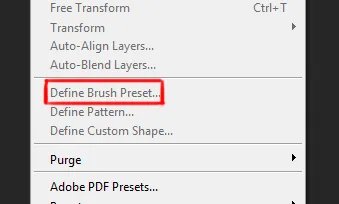
This option of Adobe Photoshop allows you to make your customized brush from any image or pattern. To use this tool go to the edit menu and select brush define brush preset.

A dialogue box will open up as you so, where you can name your brush. And after doing that you can get your customized brush in ‘brush preset picker’ menu. All the brush settings are available with this customized brush.
Define Pattern

This option is the same as ‘define brush preset’. In this option, you can make any customized pattern. To use this option, select any image, area of the image or any pattern that you want to use, go to edit menu and select ‘define pattern’.
A dialogue box will appear where you can name your pattern. While using this option my advice will be, not to take images of large size to make a pattern or else it may become unwieldy.
Related Topics:
Define Custom Shape
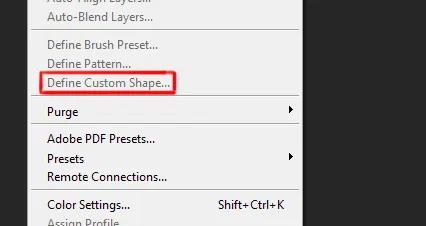
This option allows you to make a custom shape. To use this option first make a closed path with the pen tool while selecting the ‘shape’ option in the menu bar. After doing that click on the edit menu and choose ‘define custom Shape’.

A dialogue box will appear as you do so where you can name your custom shape. And thus your ‘custom shape’ will be loaded into the ‘shape’.
Purge
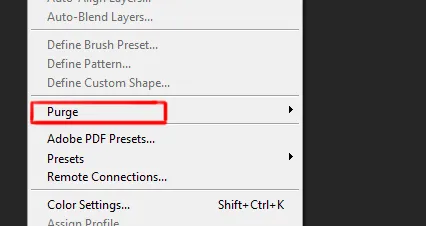
In this option, if Photoshop starts to perform slowly, you can choose ‘purge’ to empty your computer’s memory. Whenever you use commands in Photoshop, it creates a different file for all those commands. If those files get corrupted then Photoshop runs slowly. To solve this problem you can use purge to delete these files.
Related Topics:
Adobe PDF Presets
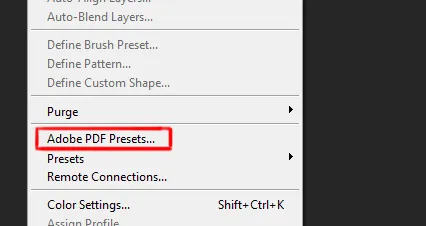
This is an option for creating PDF presets. There are different types of presets available in this option and these are:
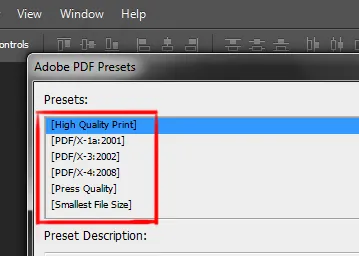
- High-Quality Print: This option creates high-quality prints. This preset uses PDF 1.4, images of 300ppi, monochrome images of 1200ppi. These documents can be easily opened in Acrobat 5.0 and Adobe Acrobat 5.0 and later.
- PDF/X 1a (2001): This file can be opened in Adobe Acrobat 4.0 and Acrobat 4.0 and its later versions. This preset uses PDF 1.3, images of 300ppi and monochrome image of 1200ppi.
- PDF/X 3(2002): This preset can also be opened in Acrobat 4.0 and later versions.
- PDF/X-4(2008): In this preset transparent layers are not flattened and it supports ICC color management. This preset uses the PDF 1.4 format.
- Press Quality: This is preset is used for high-quality print production and is of the highest quality among all other options. This preset also uses PDF 1.4 format and can be opened in Acrobat 5.0 and Adobe Acrobat 5.0 and later versions.
- Smallest File Size: It creates PDF files so that it can be easily displayed on the web. It compressed the PDF files. This preset can be opened in Acrobat 5.0 and Adobe Acrobat 5.0
Color Settings
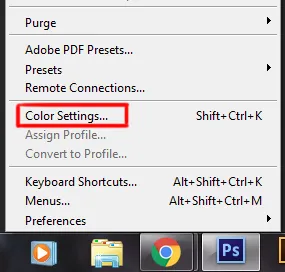
In this option Photoshop allows you to select from a long predefined set of colors settings. It allows you to manage the color of your artwork to get the desired effect. To use this option click on the edit menu and choose ‘Color Settings’.
A dialogue box will appear where you can choose any settings, customize working space and color management policies. After you are done with your settings click ‘ok’ and the dialogue box will disappear while keeping all your settings intact. The shortcut key for opening this dialogue box is ctrl + shift + K
Related Topics:
Assign Profile & Convert to Profile
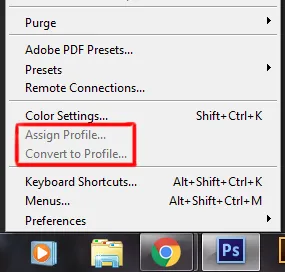
This option is used to apply profiles and color conversion in Adobe Photoshop. The main use of this option is to decide which profile we need to attach to a document. This option allows us to see the preview of the results of applying various profiles.
Keyboard Shortcuts & Menus
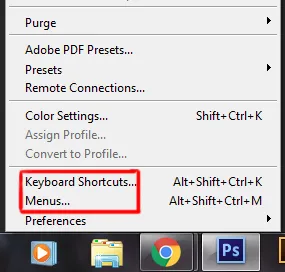
In this option, you can view, edit and summarize your keyboard shortcuts. The shortcut key for ‘keyboard shortcuts’ option is Alt + Shift + Ctrl + K and for the ‘menu’ option is Alt + Shift + Ctrl + M
A dialogue box will appear in which you will get shortcuts for all the options and tools of Photoshop.
Preferences
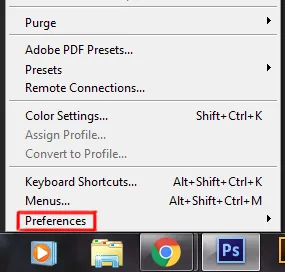
In this option, you get a chance to customize your workflow. Shortcut key to open the preference box is Ctrl + K
To use this option, select this from the edit menu and then hold the click. You will see another fly-out menu where if you chose an option, a dialogue box will appear where you can customize your preference menu.
Related Topics:
- Puppet Warp in Photoshop
- Perspective Warp in Photoshop
- Transform command in Photoshop
- Auto-Align layers in Photoshop
- Auto-Blend Layers in Photoshop
- Sky Replacement in Photoshop
- Define Brush Preset in Photoshop
- Define Pattern in Photoshop
- Define Custom Shape in Photoshop
- Purge in Photoshop


